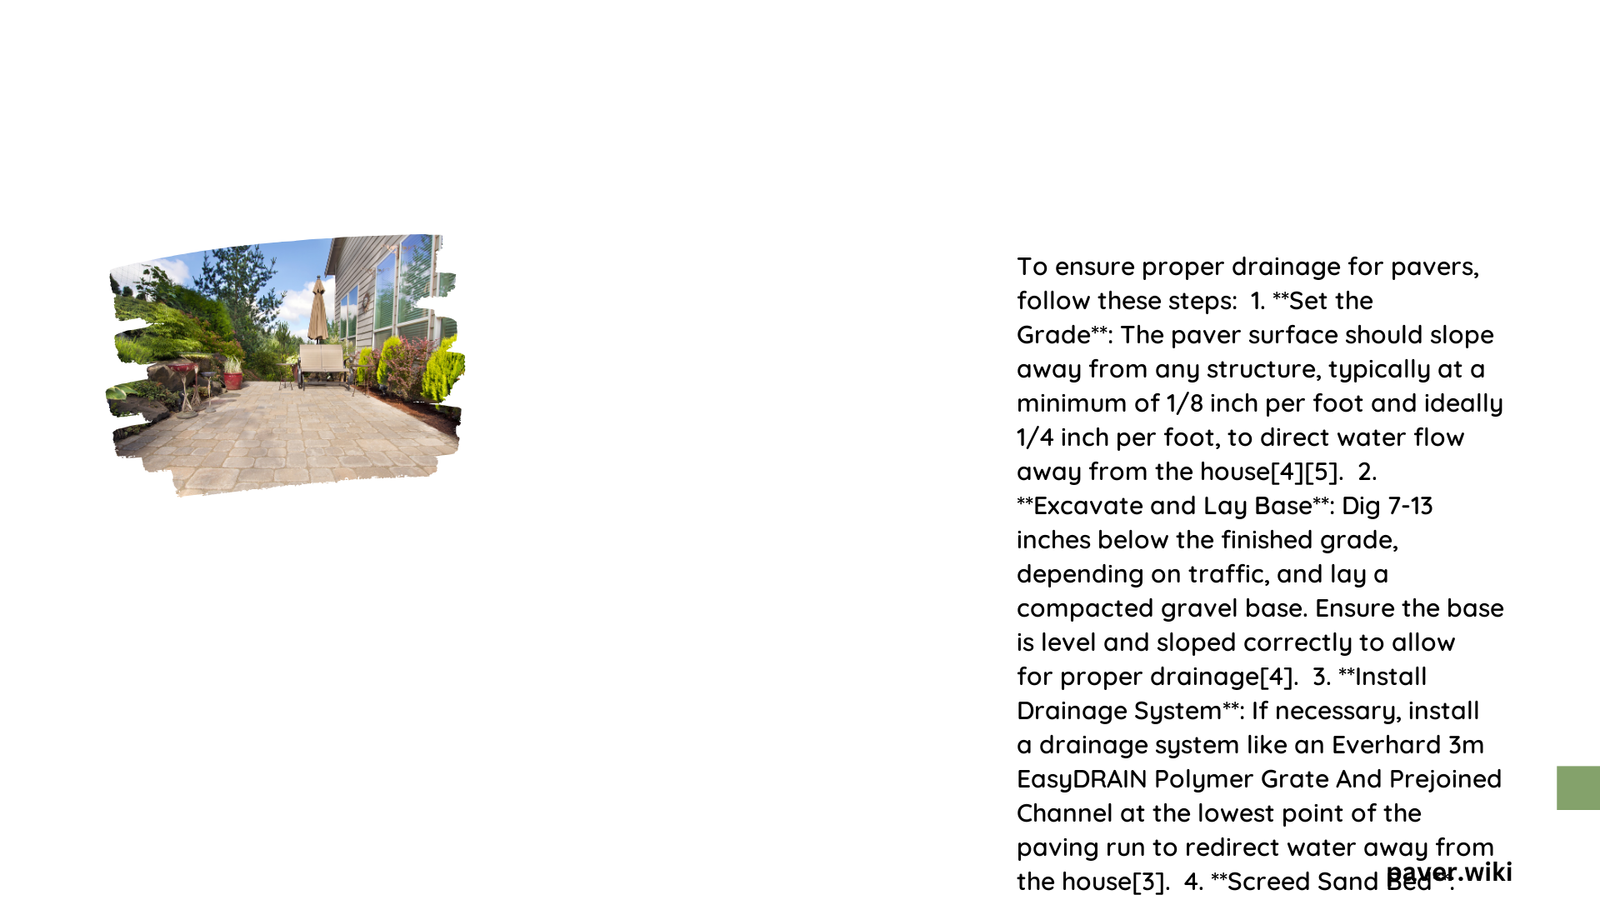
Proper drainage is critical for paver installations, determining the longevity and functionality of your outdoor spaces. Effective water management prevents structural damage, soil erosion, and potential foundation issues by strategically directing water flow away from critical areas. Understanding the precise techniques for turning drainage in paver installations can save homeowners significant repair costs and maintain the aesthetic appeal of their outdoor environments.
Why Does Drainage Direction Matter for Pavers?
What Happens When Drainage is Incorrect?
Incorrect drainage can lead to several critical problems:
- Water Pooling: Creates slippery surfaces and potential safety hazards
- Foundation Damage: Moisture accumulation near building structures
- Paver Degradation: Accelerated wear and potential shifting of installation
- Soil Erosion: Undermining the stability of the entire paver system
How to Determine the Best Drainage Direction?
Slope Calculation Techniques
| Drainage Metric | Recommended Value |
|---|---|
| Slope Percentage | 1-2% |
| Slope per Foot | 1/8 to 1/4 inch |
| Horizontal Distance Slope | 1-2 inches per 100 inches |
Key Drainage Principles
- Always Slope Away from Structures
- Direct water flow away from house foundations
- Prevent moisture accumulation near building perimeters
-
Minimize potential structural damage risks
-
Understand Terrain Characteristics
- Assess natural ground contours
- Identify lowest points for water redirection
- Consider surrounding landscape features
What Materials Support Effective Drainage?
Base Layer Composition
- Gravel Base: 4-inch compacted layer
- Geotextile Fabric: Prevents soil migration
- Sand Layer: 1-2 inches for paver stabilization
How to Install Proper Drainage?
Step-by-Step Drainage Installation
- Site Excavation
- Remove existing soil
- Create 7-10 inch depth for base layers
-
Ensure uniform ground preparation
-
Base Layer Preparation
- Compact soil thoroughly
- Install geotextile fabric
- Add and compact gravel base
-
Level with precise slope measurements
-
Paver Placement
- Use guide strings for accurate slope
- Install pavers with consistent joint spacing
- Fill joints with polymeric sand
What Tools Help Measure Drainage Slope?
- Digital Level: Precise angle measurements
- Laser Level: Consistent slope across large areas
- Measuring Tape: Verify horizontal distance calculations
- String Line: Establish straight reference points
Common Drainage Challenges and Solutions
Problematic Scenarios
- Clay Soil Areas: Requires enhanced drainage systems
- High Water Table Locations: Needs additional French drain installations
- Steep Terrain: Requires terraced drainage approaches
Cost Considerations for Drainage Correction
| Drainage Solution | Estimated Cost Range |
|---|---|
| Basic Re-sloping | $500 – $1,500 |
| French Drain Installation | $1,000 – $4,000 |
| Complete Drainage Redesign | $2,000 – $6,000 |
Final Recommendations

Successful paver drainage demands meticulous planning, precise measurements, and strategic water management. By following expert guidelines and understanding terrain-specific requirements, homeowners can create durable, functional outdoor spaces that withstand environmental challenges.
