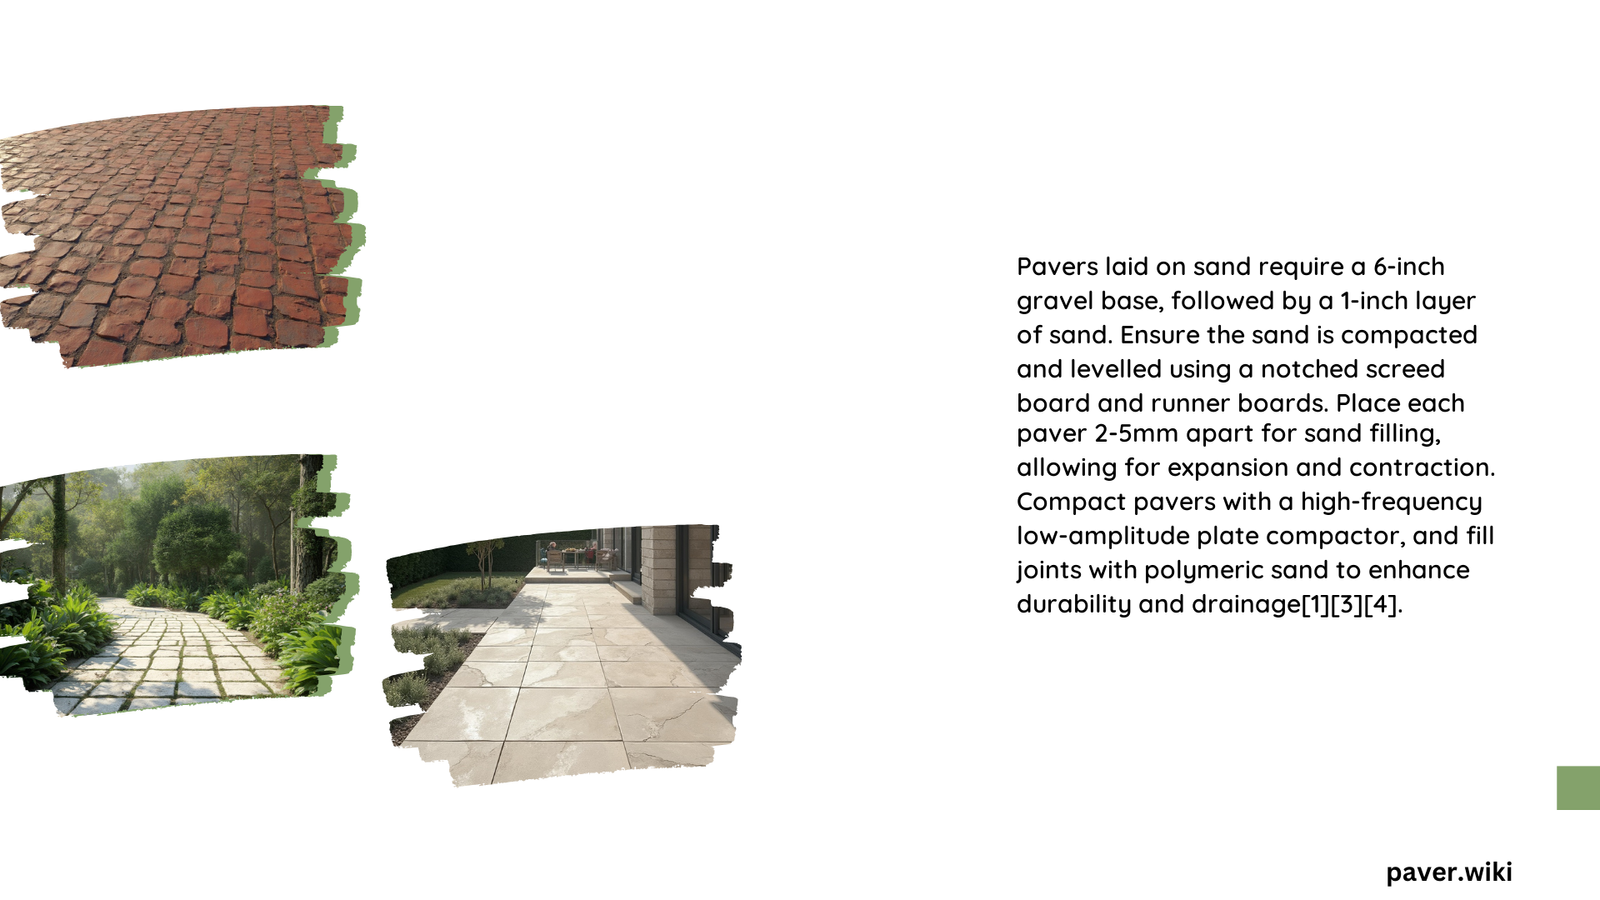
Pavers laid on sand offer a versatile and attractive solution for outdoor spaces. This method involves placing paving stones on a bed of sand, providing stability and drainage. The process requires careful preparation, proper installation techniques, and ongoing maintenance to ensure longevity and functionality. This guide explores the intricacies of installing pavers on sand, from base preparation to long-term care.
What Are the Key Steps in Preparing the Base for Pavers Laid on Sand?
Proper base preparation is crucial for the stability and longevity of pavers laid on sand. Here are the essential steps:
- Excavation: Remove existing soil to a depth of 6-8 inches.
- Grading: Ensure a slight slope (1-2%) away from structures for drainage.
- Compaction: Use a plate compactor to firm up the soil.
- Base material: Add a 4-6 inch layer of crushed stone or gravel.
- Compaction (again): Compact the base material thoroughly.
- Sand layer: Spread a 1-1.5 inch layer of coarse sand.
How to Properly Install Pavers on a Sand Base?

Installing pavers on sand requires attention to detail and the right techniques:
- Lay edge restraints around the perimeter.
- Spread sand evenly, maintaining a consistent 1-1.5 inch depth.
- Compact the sand using a plate compactor or hand tamper.
- Start laying pavers from a corner, using string lines for alignment.
- Cut pavers as needed to fit around obstacles or edges.
- Sweep polymeric sand into joints between pavers.
- Compact the entire paved area to settle the sand.
- Mist the surface to activate the polymeric sand.
What Are the Benefits of Using Pavers on Sandy Soil?
Pavers on sandy soil offer several advantages:
- Excellent drainage due to the permeable nature of sand
- Flexibility to accommodate minor ground movements
- Easy installation and repair
- Aesthetic versatility with various paver designs
- Durability and long-term cost-effectiveness
How to Maintain Pavers Laid on Sand?
Regular maintenance ensures the longevity and appearance of sand-set pavers:
- Sweep regularly to remove debris.
- Pressure wash annually to deep clean.
- Replenish joint sand as needed.
- Re-level any sunken or raised pavers promptly.
- Apply sealer every 3-5 years to protect against stains and fading.
What Are Common Issues with Pavers Laid on Sand and How to Address Them?
| Issue | Cause | Solution |
|---|---|---|
| Shifting pavers | Poor edge restraint | Install or reinforce edge restraints |
| Sinking pavers | Inadequate base preparation | Lift pavers, add base material, re-compact |
| Weed growth | Gaps in joint sand | Remove weeds, refill with polymeric sand |
| Efflorescence | Natural mineral deposits | Clean with specialized cleaner |
| Staining | Spills or organic matter | Clean promptly, apply sealer |
How Does Climate Affect Pavers Laid on Sand?
Climate plays a significant role in the performance of sand-set pavers:
- Freeze-thaw cycles: Can cause heaving; proper base preparation is crucial.
- Heavy rainfall: May wash out sand; use stabilized or polymeric sand.
- Extreme heat: Can cause expansion; leave small gaps between pavers.
- Coastal areas: Salt exposure may require more frequent sealing.
What Tools Are Necessary for Installing Pavers on Sand?
Essential tools for paver installation include:
- Plate compactor
- Wheelbarrow
- Shovel and rake
- Level and string line
- Rubber mallet
- Paver saw or splitter
- Broom
- Tape measure
- Safety gear (gloves, goggles, dust mask)
How to Choose the Right Sand for Paver Installation?
Selecting the appropriate sand is crucial for successful paver installation:
- Base sand: Use coarse, angular sand for the bedding layer.
- Joint sand: Opt for fine, dry sand to fill gaps between pavers.
- Polymeric sand: Consider for enhanced joint stability and weed prevention.
- Avoid: Marine or beach sand, which is too fine and unstable.
What Are the Cost Considerations for Pavers Laid on Sand?
Several factors influence the cost of installing pavers on sand:
- Paver material (concrete, brick, natural stone)
- Size of the area to be paved
- Complexity of the design
- Site preparation requirements
- Labor costs (DIY vs. professional installation)
- Additional features (e.g., edge restraints, sealers)
On average, expect to pay $10-$30 per square foot for professional installation, depending on these factors.
How Do Pavers on Sand Compare to Other Paving Methods?
| Method | Pros | Cons |
|---|---|---|
| Pavers on sand | Flexible, easy to repair, good drainage | Requires regular maintenance |
| Concrete slab | Durable, low maintenance | Prone to cracking, difficult to repair |
| Asphalt | Cost-effective, quick installation | Less aesthetic appeal, needs resealing |
| Gravel | Inexpensive, good drainage | Can be messy, requires frequent replenishment |
What Are the Environmental Impacts of Pavers Laid on Sand?
Pavers on sand can have both positive and negative environmental impacts:
Positive:
– Permeable surface allows water infiltration, reducing runoff
– Can use recycled materials for base and pavers
– Easily removable and reusable
Negative:
– Sand mining for base material can be environmentally destructive
– Some types of pavers may contribute to heat island effect
– Production of concrete pavers has a carbon footprint
To minimize negative impacts, consider using permeable pavers and locally sourced, recycled materials where possible.
By understanding these aspects of pavers laid on sand, you can make informed decisions about installation, maintenance, and long-term care of your paved surfaces. Whether for a patio, driveway, or walkway, this versatile paving method offers durability, aesthetics, and practicality when properly executed and maintained.
References:
1. https://premierpavers.com.au/how-to-lay-pavers-on-sand-or-dirt/
2. https://www.homedepot.com/c/ah/how-to-install-patio-pavers/9ba683603be9fa5395fab900ba8276e
3. https://oldtownpavers.com/understanding-soil-conditions-for-site-preparation-in-paver-installation/
