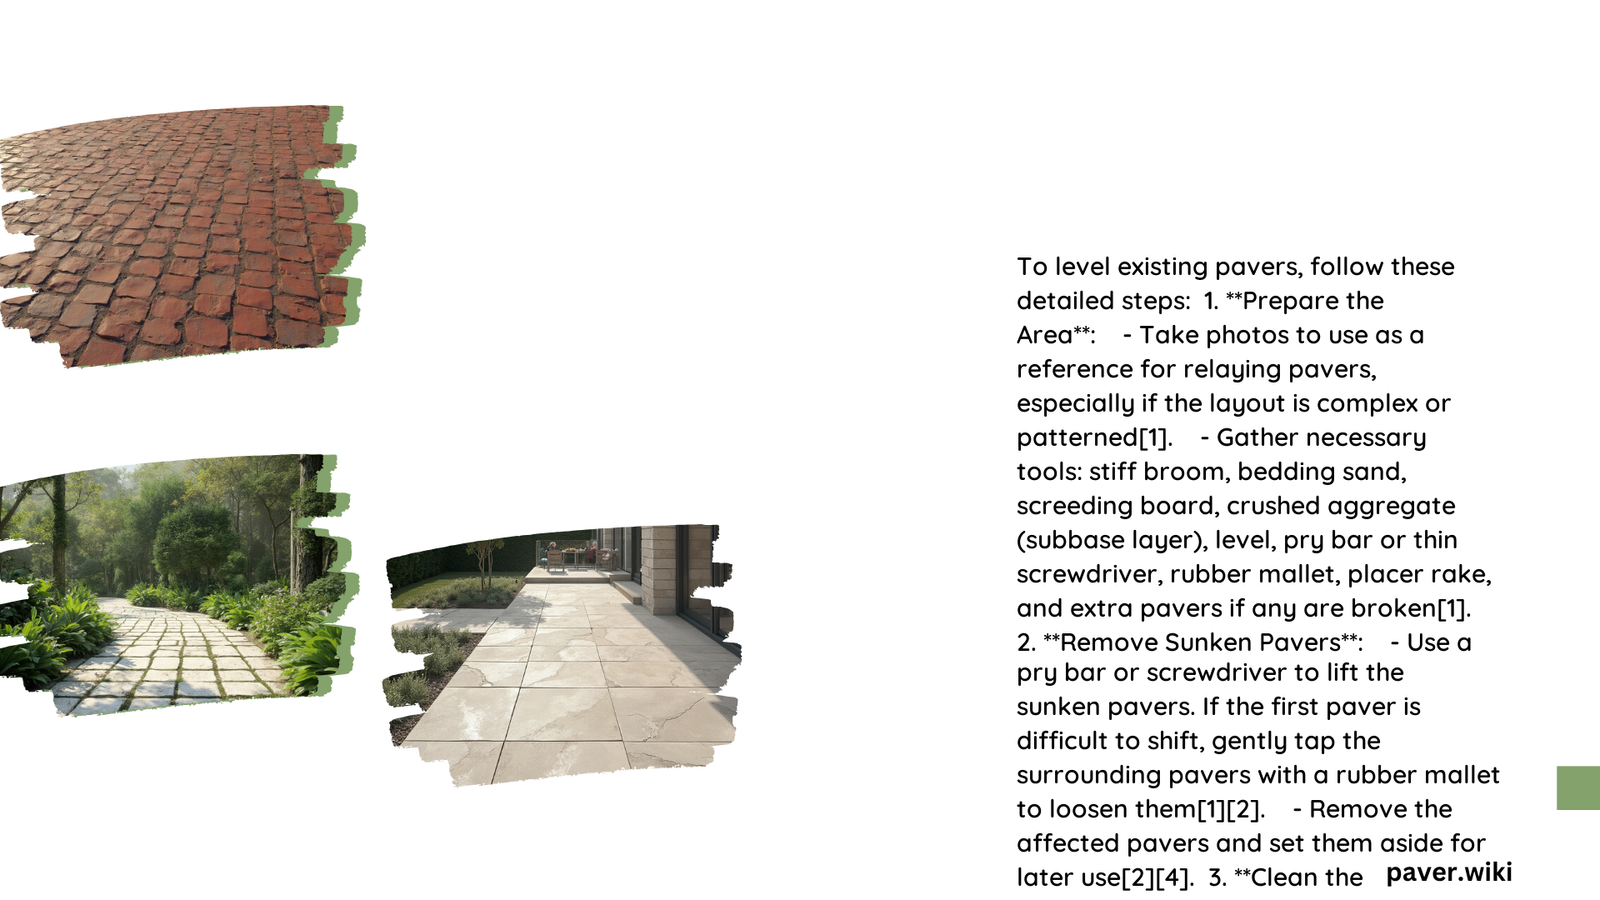
Leveling existing pavers is a crucial process for maintaining the aesthetic appeal, safety, and longevity of paved surfaces. This comprehensive guide covers essential tools, step-by-step techniques, key benefits, and common mistakes to avoid when leveling existing pavers. By following these expert tips and best practices, you can achieve a perfectly level and stable paver installation that will stand the test of time.
What Tools Are Essential for Leveling Existing Pavers?
To successfully level existing pavers, you’ll need a variety of specialized tools. Here’s a list of essential equipment:
- Laser Levels and Rods
- Grade Rakes
- Plate Compactors
- String Lines and Levels
- Screed Boards and Rails
- Hand Tampers or Mechanical Compactors
Laser Levels and Rods
- Purpose: Ensure precise leveling of the surface
- Cost: $200-$500
- Recommended Brand: Pave Tool Innovators
Grade Rakes
- Purpose: Spread and smooth base materials
- Cost: $50-$100
- Recommended: Heavy-duty grade rakes from hardware stores
Plate Compactors
- Purpose: Compact base material to prevent shifting
- Cost: $200-$1,000
- Recommended Brands: Wacker Neuson, Husqvarna
String Lines and Levels
- Purpose: Mark and ensure correct slope and level
- Cost: $20-$50
- Recommended: Standard string line and level sets
Screed Boards and Rails
- Purpose: Smooth out sand base
- Cost: $20-$50 for DIY setup
- Recommended: Pave Tool Innovators for specialized packages
Hand Tampers or Mechanical Compactors
- Purpose: Compact base material for stability
- Cost: $50-$500
- Recommended Brands: Wacker Neuson, Husqvarna
What Are the Step-by-Step Techniques for Leveling Existing Pavers?

Follow these steps to properly level existing pavers:
- Excavation and Preparation
- Base Material Installation
- Sand Bed Preparation
- Leveling and Compaction
- Paver Installation
- Final Compaction and Sand Filling
1. Excavation and Preparation
- Remove existing pavers and clear debris
- Mark layout with stakes and string lines
2. Base Material Installation
- Add landscaping fabric to prevent weed growth
- Spread 4 inches of gravel and compact with plate compactor
3. Sand Bed Preparation
- Lay 1 inch of paver sand on compacted gravel
- Use screed board and rails to smooth sand base
4. Leveling and Compaction
- Use laser level and rod to ensure perfect leveling
- Compact sand base with hand tamper or mechanical compactor
5. Paver Installation
- Lay pavers on leveled sand base
- Use rubber mallet to tap into place
- Align and space correctly using string lines and levels
6. Final Compaction and Sand Filling
- Compact pavers with plate compactor
- Fill gaps with polymeric sand and activate with water
What Are the Key Benefits of Leveling Existing Pavers?
Properly leveling existing pavers offers several advantages:
- Longevity: Extends paver lifespan by 20-30 years
- Aesthetic Improvements: Enhances visual appeal and property value
- Safety Considerations: Reduces tripping hazards and accidents
What Are Common Mistakes and How Can They Be Corrected?
Avoid these common mistakes when leveling existing pavers:
Miscalculations in Slope
- Mistake: Neglecting proper drainage pitch
- Consequence: Water accumulation and erosion
- Correction: Use string lines and levels to ensure slight slope
Improper Tool Usage
- Mistake: Using wrong compactor or inadequate compaction
- Consequence: Settling and shifting of pavers
- Correction: Use appropriate compactor and ensure thorough compaction
Inadequate Drainage Solutions
- Mistake: Omitting landscaping fabric or proper gravel base
- Consequence: Weed growth and poor drainage
- Correction: Install landscaping fabric and adequate gravel base
By following these guidelines and avoiding common pitfalls, you can successfully level existing pavers and create a durable, attractive, and safe paved surface.
References:
1. Pave Tool Innovators – Grading Tools
2. Left Coast Pavers – How To Level Ground For Pavers
3. Ground Source – DIY Paver Installation
