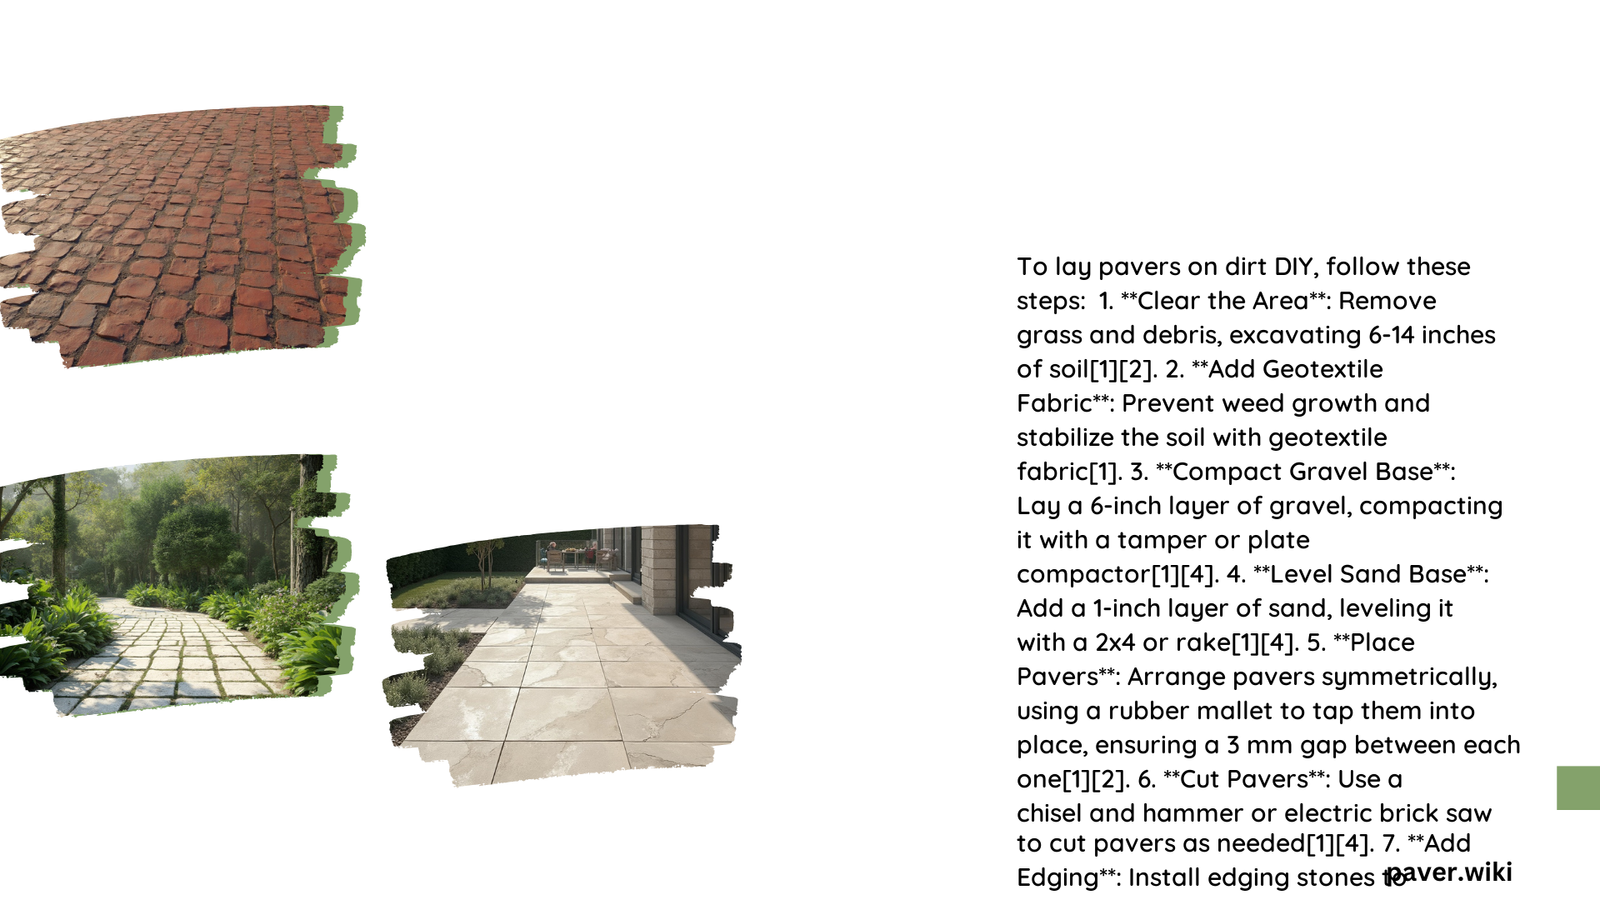
Laying pavers on dirt is a popular DIY project that can transform your outdoor space. This guide covers the essential steps, from preparing the ground to installing the pavers. You’ll learn about proper excavation, base materials, necessary tools, and common challenges. By following these instructions, you can create a beautiful and durable paved surface for your patio, walkway, or driveway.
What Are the Steps to Prepare Dirt for Laying Pavers?
Preparing the dirt properly is crucial for a successful paver installation. Here’s a step-by-step guide:
- Mark the Area:
- Use marking paint to outline the patio area
- Drive garden stakes just outside the markings
-
Attach mason’s line to the stakes for guidance
-
Excavate:
- For pedestrian traffic: Dig 7 inches deep
-
For vehicular traffic: Dig 9-13 inches deep
-
Create Proper Slope:
- Ensure a 1-inch drop every 8 feet for drainage
-
Slope away from any structures
-
Lay Geotextile Fabric:
-
Cover the excavated area to prevent soil and gravel mixing
-
Add Base Material:
- Use 3/4-inch minus gravel
- For pedestrian areas: 4 inches thick
-
For vehicular areas: 6-10 inches thick
-
Compact the Base:
- Use a plate compactor or steel tamper
- Compact in layers for better stability
- Lightly wet the gravel to aid compaction
What Are the Best Base Materials for Laying Pavers?

Choosing the right base material is essential for a stable paver installation. Here’s what you need to know:
Types of Base Materials
- Gravel:
- 3/4-inch minus gravel or crushed rock
- Contains varying sized stones with sharp edges
- Provides good drainage and stability
Optimal Thickness
- Pedestrian areas: 4 inches
- Vehicular areas: 6-10 inches (depending on soil type and load)
Compaction Methods
- Use a plate compactor or steel tamper
- Compact in layers of 2-3 inches
- Ensure the base is level and firm before proceeding
What Tools Are Essential for Laying Pavers on Dirt?
Having the right tools can make your DIY paver project much easier. Here’s a list of essential tools:
- Work gloves
- Wheelbarrow
- Tape measure
- 24″ level
- Rubber mallet
- Steel tamper or plate compactor
- Pickaxe or mattock
- Shovel
- Garden rake
- Concrete placer (optional for large areas)
- 10’–12′ aluminum strike board
How to Address Common Challenges When Laying Pavers on Dirt?
Even with careful preparation, you may encounter some challenges. Here’s how to address them:
Drainage Issues
Problem: Water accumulation causing paver heaving or discoloration
Solutions:
1. Ensure proper slope (1 inch every 8 feet)
2. Use free-draining gravel base
3. Install drainage systems if necessary
Settling Issues
Problem: Pavers sinking or separating due to unstable base
Solutions:
1. Use adequate thickness of gravel base
2. Compact base properly in layers
3. Install geotextile fabric to prevent soil and gravel mixing
Maintenance Issues
Problem: Weed growth between paver joints
Solutions:
1. Use fine-grained sand to fill joints
2. Consider sealing pavers to prevent vegetation growth
3. Regular cleaning and maintenance
What Are the Step-by-Step Instructions for Laying Pavers on Dirt?
Follow these steps to successfully lay pavers on dirt:
- Prepare the Area:
- Mark the patio perimeter
- Excavate to proper depth
-
Ensure correct slope for drainage
-
Install Base Materials:
- Lay geotextile fabric
-
Add and compact gravel base in layers
-
Add Sand Layer:
- Spread 1 inch of sand over the compacted base
-
Level using a strike board
-
Lay Pavers:
- Start from a corner or edge
- Use spacers for consistent gaps
-
Cut pavers as needed for edges
-
Compact and Fill Joints:
- Use a plate compactor to settle pavers
- Spread fine sand over pavers and sweep into joints
-
Compact again to settle sand
-
Final Touches:
- Add edge restraints if not already installed
- Clean the surface
- Apply sealer if desired
By following these steps and addressing potential challenges, you can successfully complete your DIY paver project on dirt. Remember to take your time, use the right tools, and prioritize proper base preparation for the best results.
