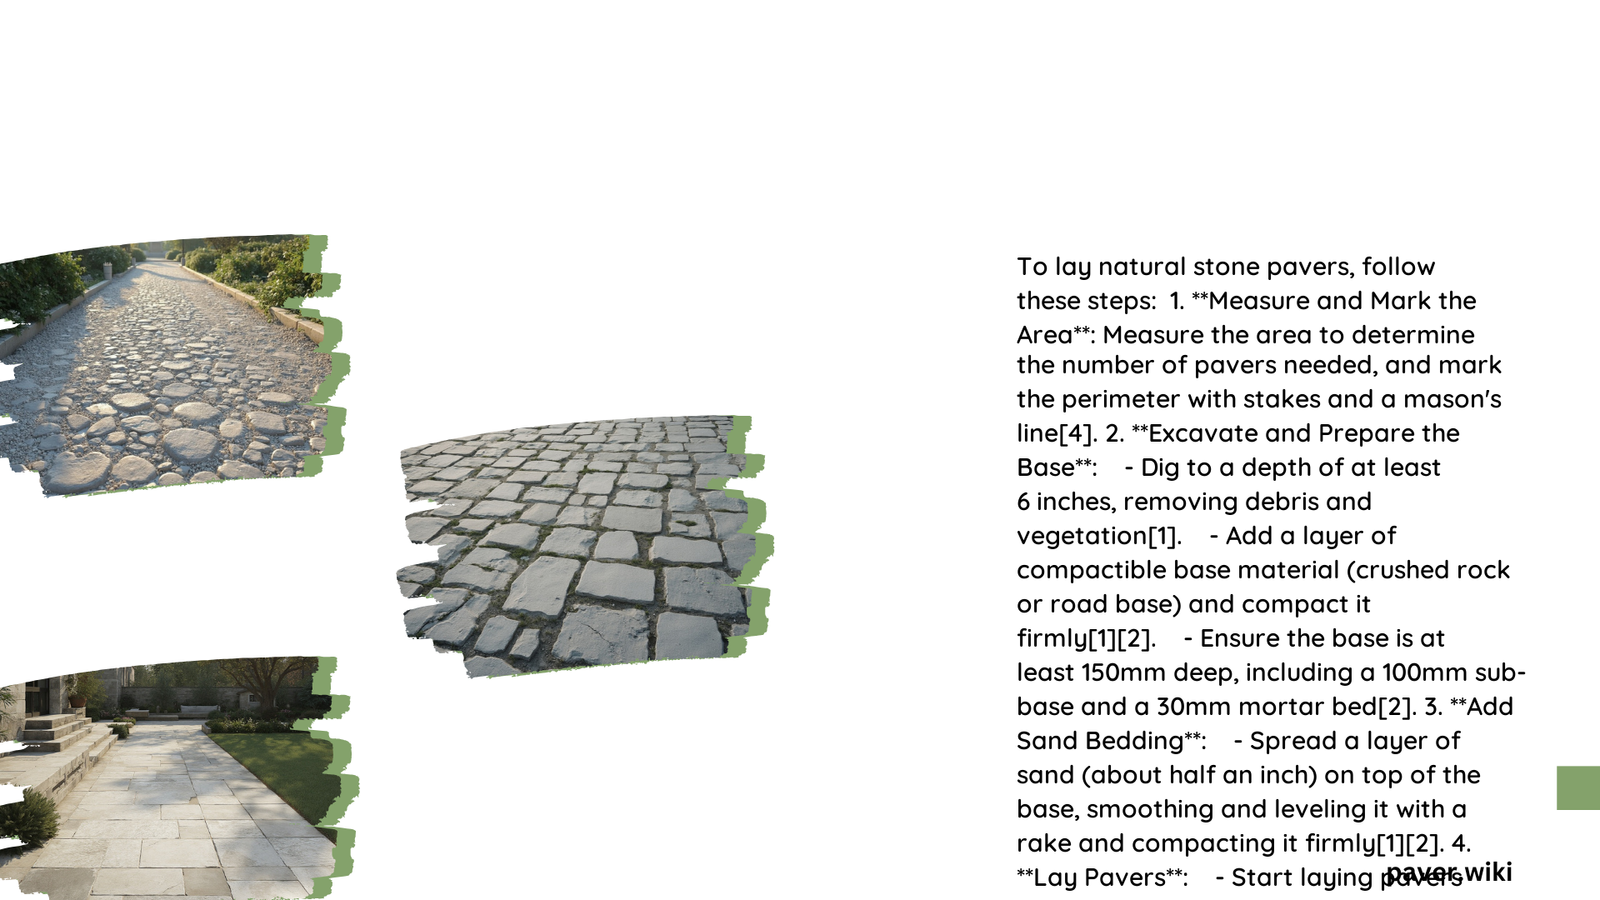
Natural stone pavers offer a timeless and elegant solution for outdoor spaces. This guide covers the essential steps for laying natural stone pavers, including base preparation, installation techniques, layout design, and maintenance. By following these best practices, you can create a durable and beautiful paved surface that enhances your outdoor living area.
What Are the Key Steps in Base Preparation for Natural Stone Pavers?
The foundation of a successful natural stone paver installation lies in proper base preparation. Here are the crucial steps:
- Excavation:
- Dig the area to a depth of at least 6 inches
-
Remove all grass, roots, and debris
-
Compaction:
- Add a layer of compactible base material (crushed rock or road base)
-
Compact firmly using a hand tamper or plate compactor
-
Gravel Base:
- Apply a 4-inch layer of gravel
-
Compact thoroughly to create a solid foundation
-
Sand Bedding:
- Add a 1-inch layer of sand on top of the gravel
- Level and smooth using a 2×4 board or rake
- Compact firmly
How to Install Flat Natural Stone Pavers?

Follow these step-by-step procedures for a successful installation:
- Preparation:
- Clear the area and mark the perimeter
-
Check for underground utilities
-
Base Layer:
-
Lay and compact the gravel base
-
Sand Bedding:
-
Add, level, and compact the sand layer
-
Laying Pavers:
- Start from the center and work outward
-
Use a level to ensure even spacing and alignment
-
Cutting Pavers:
- Use a masonry saw or diamond saw for precise cuts
-
Wear protective gear
-
Grouting:
- Sweep fine-grained sand into joints
-
Compact using a hand tamper or plate compactor
-
Sealing:
- Pre-seal stones before grouting
- Apply a water-based top sealer after grouting
Essential Tools for Laying Natural Stone Pavers
| Tool | Purpose |
|---|---|
| Plate compactor | Compacting base layers |
| Hand tamper | Compacting smaller areas |
| Rake | Leveling sand and gravel |
| 2×4 board | Smoothing sand layer |
| Masonry saw | Cutting pavers |
| Level | Ensuring even placement |
| Broom | Sweeping sand into joints |
What Are the Best Practices for Natural Stone Paver Layout Design?
Consider these factors when planning your paver layout:
- Pattern Options:
- Linear
- Herringbone
-
Circular
-
Spacing Considerations:
- Maintain 3-5mm joints between pavers
-
Use a level for even spacing and alignment
-
Material Quantity Calculations:
- Calculate square footage of the area
- Determine number of pavers needed
- Estimate gravel and sand quantities
How to Maintain Natural Stone Pavers?
Proper maintenance ensures the longevity and beauty of your natural stone pavers:
- Cleaning Methods:
- Regular sweeping
- Mild detergent and water for thorough cleaning
-
Avoid acidic substances
-
Sealing Recommendations:
- Apply water-based top sealer after grouting
-
Reapply every 10-15 years or as needed
-
Maintenance Schedule:
- Regular inspections for wear or damage
- Periodic cleaning to prevent debris buildup
- Re-sealing as necessary
By following these guidelines for laying natural stone pavers, you can create a stunning and durable outdoor surface that will enhance your property for years to come.
References:
1. Bonita Stone Guide
2. Oregon State University Extension Guide
3. The Home Depot Guide
