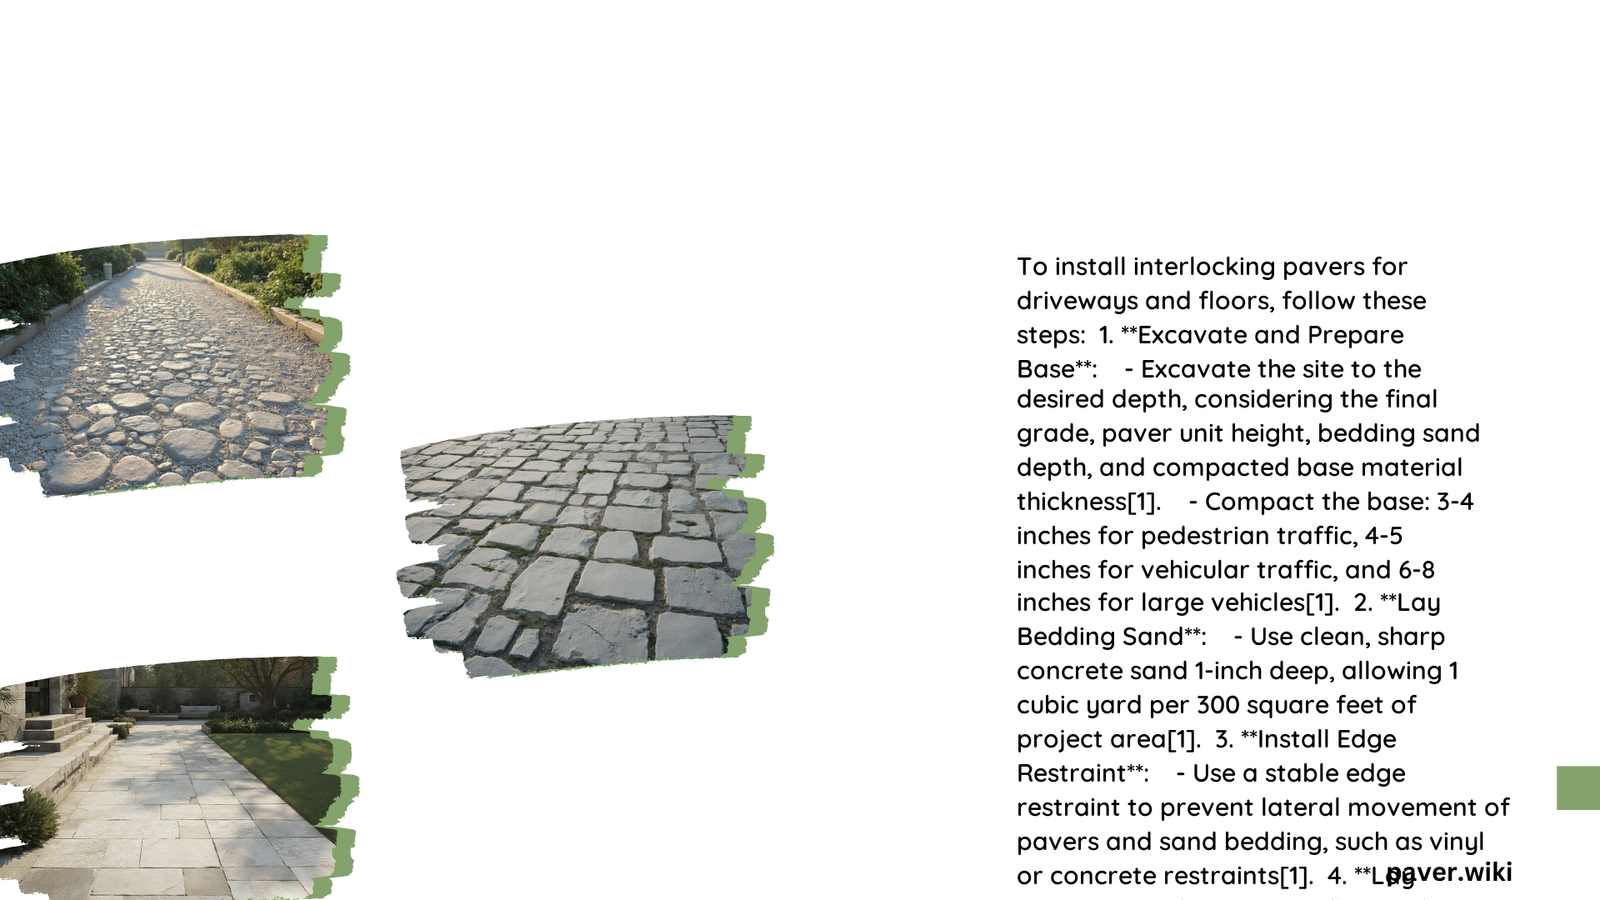
Installing interlocking pavers for driveways and floors is a popular choice for homeowners looking to enhance their outdoor spaces. This process involves careful preparation, precise installation techniques, and proper maintenance. From site excavation to final compaction, each step is crucial for a durable and attractive result. This guide will walk you through the entire process, providing expert tips and best practices for a successful paver installation project.
What Are the Key Steps to Install Interlocking Pavers for Driveways & Floors?
The installation of interlocking pavers for driveways and floors involves several critical steps:
- Site preparation and excavation
- Base material installation and compaction
- Bedding sand application
- Paver layout and placement
- Edge restraint installation
- Joint filling and final compaction
Let’s dive into each of these steps in detail.
How to Prepare the Site for Paver Installation?
Proper site preparation is crucial for a successful paver installation. Follow these steps:
- Excavation:
- Clear the area to a depth of 7-8 inches for driveways or 6-10 inches for pedestrian areas.
-
Remove all unstable or unconsolidated subgrade material.
-
Grading and Drainage:
- Ensure the base has a slight slope (1/8 to 1/4 inch per foot) for proper water drainage.
-
Use a laser level or transit to achieve accurate grading.
-
Soil Compaction:
- Compact the subgrade soil using a plate compactor.
- Make multiple passes to ensure thorough compaction.
What Base Material Should Be Used for Paver Installation?
The base material is critical for the longevity and stability of your paver installation. Here’s what you need to know:
- Material Type: Use Class II Road Base or a similar crushed stone aggregate.
-
Thickness Requirements:
| Traffic Type | Base Thickness |
|————–|—————-|
| Pedestrian | 3-4 inches |
| Vehicular | 4-5 inches |
| Heavy Vehicles | 6-8 inches | -
Compaction Process:
- Spread the base material evenly.
- Use a plate compactor to compact in 2-3 inch lifts.
- Continue until the base is level and stable.
How to Properly Lay Out and Install Pavers?
The layout and installation of pavers require precision and attention to detail:
- Design and Pattern Selection:
- Choose a pattern that complements your space and style.
-
Consider factors like traffic flow and visual appeal.
-
Bedding Sand Application:
- Lay a 1-inch thick layer of washed concrete sand over the compacted base.
-
Use screeding pipes and a straight 2×4 to level the sand accurately.
-
Paver Placement:
- Start from a true corner or along a straight edge.
- Place pavers flat on the sand bed, ensuring they are level and properly spaced.
-
Use string lines to maintain straight rows.
-
Cutting Pavers:
- Use a masonry saw or paver splitter for precise cuts around edges and obstacles.
What Are the Best Methods for Filling Paver Joints?
Proper joint filling is essential for the stability and longevity of your paver installation:
- Initial Compaction:
- Spread a light layer of sand over the pavers.
-
Use a plate compactor with a rubber mat to set the pavers into the bedding sand.
-
Joint Sand Application:
- Spread dry paver joint sand or masonry sand over the pavers.
-
Ensure the sand is approximately 1/4 inch deep.
-
Final Compaction and Filling:
- Use the plate compactor to vibrate the sand into the joints.
-
Repeat the process until all joints are completely filled.
-
Sweeping and Cleaning:
- Remove excess sand from the paver surface.
- Lightly mist the area with water to help settle the sand.
What Are the Best Materials for Paver Driveways?

Choosing the right materials is crucial for a durable and attractive paver driveway:
Paver Types:
- Concrete Pavers:
- Durability: High (20-30 years lifespan)
- Color Options: Wide range
-
Cost: $3-$15 per square foot
-
Brick Pavers:
- Durability: High (20-50 years lifespan)
- Color Options: Various, but more limited than concrete
-
Cost: $5-$20 per square foot
-
Natural Stone Pavers:
- Durability: Very High (50+ years lifespan)
- Color Options: Natural variations
- Cost: $10-$30 per square foot
Recommended Brands:
- Cambridge Pavingstones
- RCP Block & Brick
- Belgard
- Unilock
How Much Does It Cost to Install Interlocking Pavers?
The cost of installing interlocking pavers can vary based on several factors:
| Cost Component | Price Range (per sq ft) |
|---|---|
| Pavers | $3 – $15 |
| Base Material | $1 – $3 |
| Sand | $0.50 – $1.50 |
| Edge Restraints | $1 – $3 (per linear ft) |
| Labor | $5 – $15 |
Additional costs may include:
– Base Preparation: $2 – $5 per sq ft
– Drainage Solutions: $1 – $3 per sq ft
– Sealing (Optional): $0.50 – $2 per sq ft
Total Average Cost: $10 – $30 per square foot for a complete installation.
How to Maintain Paver Driveways and Floors?
Proper maintenance is key to preserving the beauty and functionality of your paver installation:
- Regular Cleaning:
- Sweep debris weekly.
-
Pressure wash annually (use low pressure to avoid damage).
-
Sealing (Optional):
-
Apply sealer every 2-5 years to protect against stains and stabilize joint sand.
-
Joint Sand Maintenance:
- Check annually for sand loss in joints.
-
Refill with polymeric sand as needed.
-
Weed Control:
- Remove weeds promptly.
-
Apply weed killer if necessary.
-
Repair and Replacement:
- Address any settling or damaged pavers promptly.
- Keep extra pavers on hand for easy replacements.
By following these installation and maintenance guidelines, you can ensure a beautiful and long-lasting paver driveway or floor. Remember to consult with local professionals for specific advice tailored to your climate and soil conditions.
