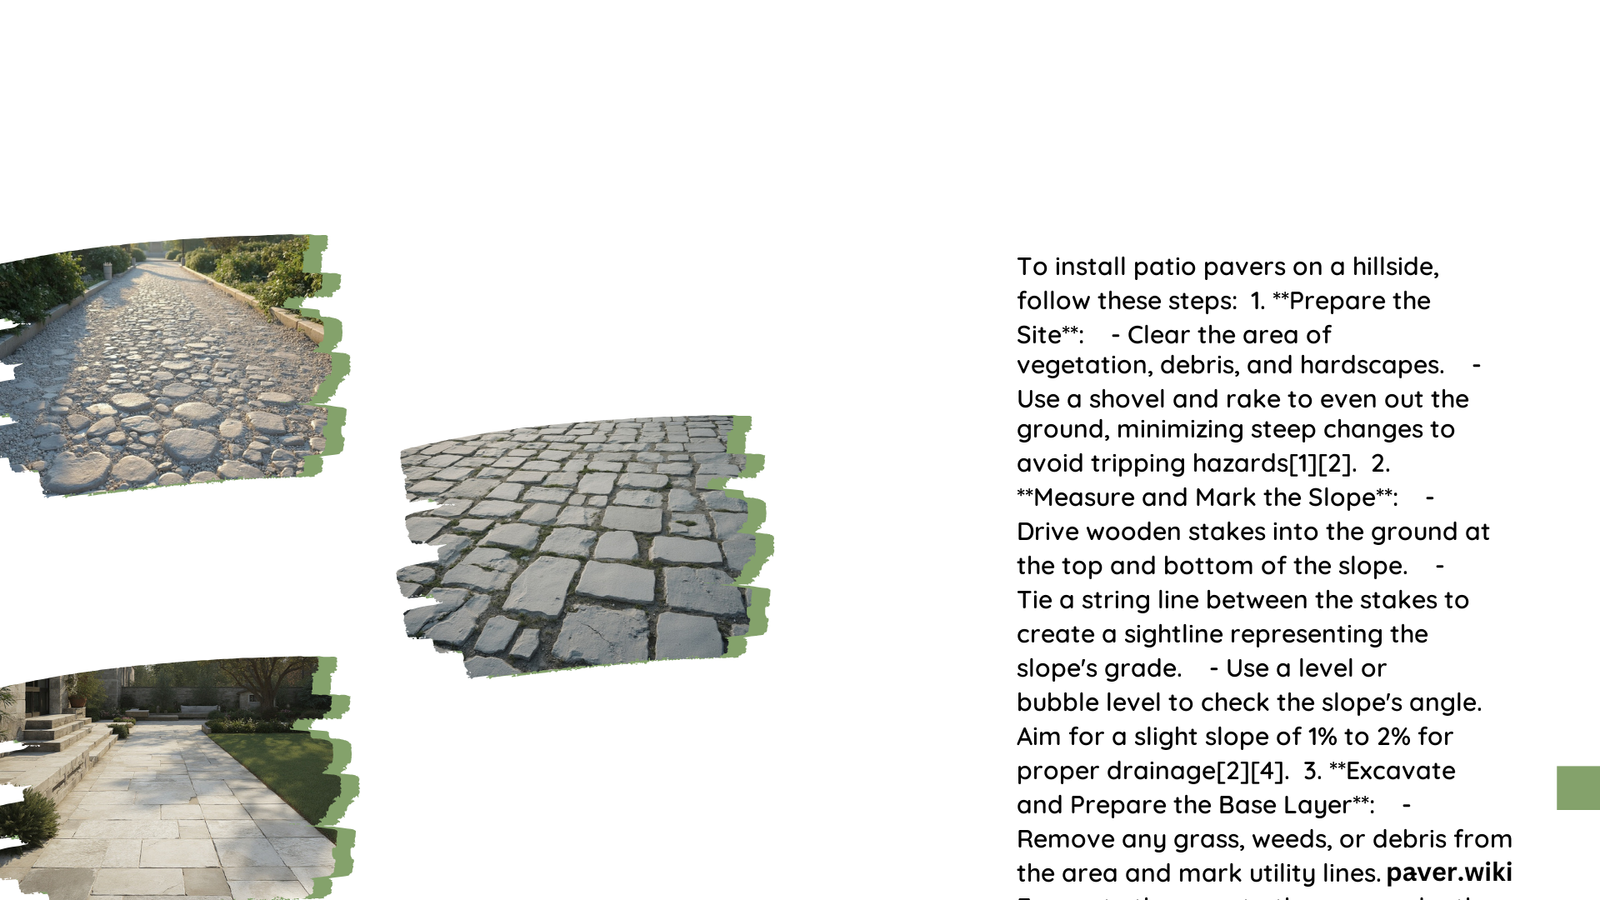
Installing patio pavers on a hillside requires careful planning, proper site preparation, and specific techniques to ensure stability and drainage. This guide covers the essential steps, from measuring the slope to securing the pavers, along with tips for effective drainage and cost estimates. By following these instructions, you can create a beautiful and functional patio on sloped terrain.
What Are the Key Steps to Install Patio Pavers on a Hillside?
- Plan and prepare the site
- Clear and grade the area
- Prepare the base with gravel and sand
- Lay the pavers
- Secure and protect the installation
How Do You Plan and Prepare the Site?
- Choose the Right Location: Select an area with the least slope that meets your needs.
- Measure the Slope: Use stakes and a string level to determine the grade.
- Calculate Materials: Estimate the amount of gravel, sand, and pavers needed based on the area.
What’s Involved in Clearing and Grading?
- Remove vegetation and debris from the site.
- Grade the soil to achieve a 1-2% slope for proper drainage.
- Use a spade and shovel for manual clearing, or consider renting equipment for larger areas.
How Do You Prepare the Base for Hillside Pavers?
- Excavate the area to a depth of about 6 inches.
- Lay landscape fabric to prevent weed growth and stabilize the base.
- Add a 4-inch layer of crushed rock (3/4 minus gravel).
- Compact the gravel in multiple stages using a plate compactor.
- Add a 1-inch layer of sand and level it using PVC pipes and a 2×4 board.
What’s the Best Way to Lay Pavers on a Slope?
- Start from the bottom of the slope and work upwards.
- Use a rubber mallet to tap pavers into place.
- Ensure each paver is properly supported and level.
- Cut pavers as needed using a circular saw or masonry saw.
How Do You Secure and Protect the Paver Installation?
- Install edge restraints (plastic, concrete, metal, or wood) to prevent shifting.
- Compact the pavers using a mechanical plate compactor.
- Fill joints with polymeric sand for additional stability.
What Materials and Tools Are Needed for Hillside Paver Installation?

| Materials | Tools |
|---|---|
| Gravel (3/4 minus crushed rock) | Plate compactor |
| Sand (bedding sand) | Landscape rake |
| Pavers | Tamper |
| Landscape fabric | Garden hose |
| Edge restraints | Level |
| Polymeric sand | String and stakes |
| PVC pipes | |
| 2×4 board | |
| Masonry saw or circular saw | |
| Rubber mallet |
How Can You Ensure Proper Drainage for Hillside Pavers?
- Maintain a 1-2% slope for natural water runoff.
- Consider installing channel drains for steeper slopes.
- Use French drains to redirect water away from the patio area.
- Ensure proper compaction and sloping of the base layers.
What Are the Challenges of Securing Pavers on Steep Slopes?
- Soil Erosion: Use landscape fabric and thorough compaction to prevent erosion.
- Water Pooling: Implement proper drainage solutions and maintain the recommended slope.
- Paver Shifting: Use robust edge restraints and secure anchoring techniques.
How Much Does It Cost to Install Patio Pavers on a Hillside?
- Gravel and Sand: $1 to $3 per square foot
- Pavers: $3 to $10 per square foot
- Edge Restraints: $1 to $5 per linear foot
- Labor (if hiring professionals): $5 to $15 per square foot
Note: Costs can vary based on materials, location, and project complexity.
By following these steps and considering the unique challenges of hillside installations, you can successfully create a beautiful and durable paved patio on sloped terrain.
