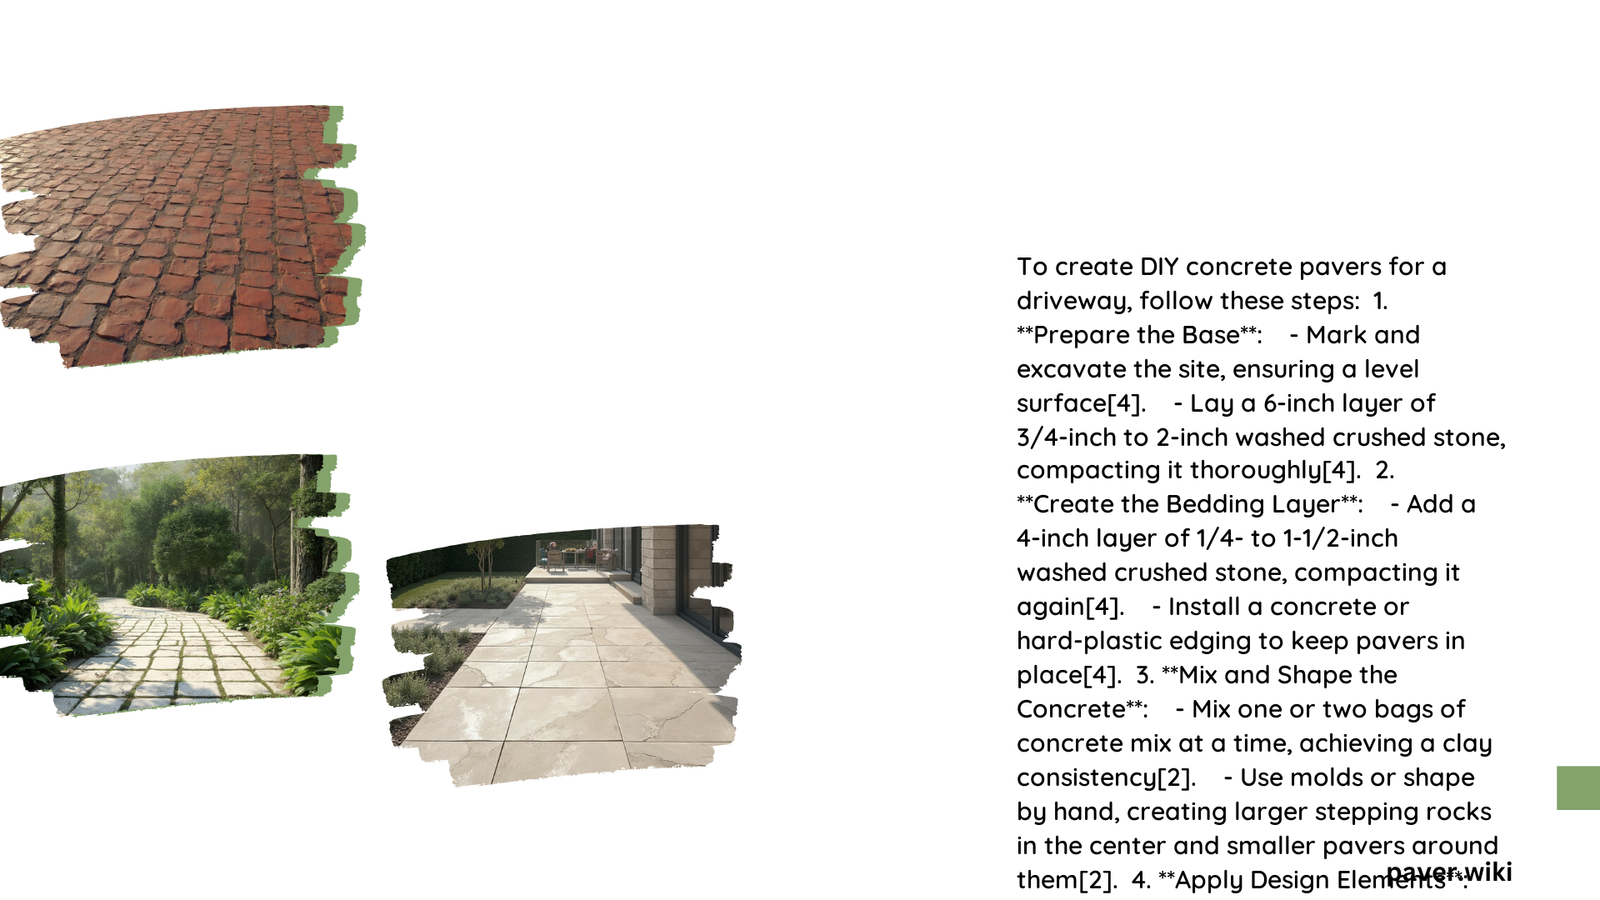
DIY concrete pavers for driveways offer a cost-effective and customizable solution for homeowners looking to enhance their property’s curb appeal. This guide covers the essential steps, materials, and techniques needed to create and install your own concrete pavers. From mixing the perfect concrete blend to proper installation methods, you’ll learn how to transform your driveway with durable, attractive pavers.
What Are the Steps to Create DIY Concrete Pavers for Driveway?
Creating your own concrete pavers involves several key steps:
- Prepare the molds
- Mix the concrete
- Pour and compact the concrete
- Allow for curing
- Remove from molds
Let’s break down each step in detail:
1. Prepare the Molds
- Clean the molds thoroughly
- Apply a thin layer of mold release agent or cooking oil
- Ensure molds are level on a flat surface
2. Mix the Concrete
For optimal strength and durability, use the following mix ratio:
| Component | Ratio |
|---|---|
| Portland cement | 1 part |
| Sand | 2 parts |
| Aggregate | 3 parts |
| Water | 0.5-0.7 parts per 1 part cement |
Mix thoroughly until you achieve a consistent texture.
3. Pour and Compact the Concrete
- Fill molds to the top with the concrete mixture
- Use a vibrating tool or tap the molds to remove air bubbles
- Smooth the surface with a trowel
4. Allow for Curing
- Cover the molds with plastic sheeting
- Keep moist and allow to cure for at least 24-48 hours
- Ideal curing conditions: 70°F (21°C) and 50% humidity
5. Remove from Molds
- Carefully remove pavers once fully cured
- Place on a flat surface to continue curing for several more days
What Is the Best Concrete Mix for DIY Driveway Pavers?

The best concrete mix for driveway pavers should be strong, durable, and able to withstand heavy loads. Here’s a recommended mix:
- 1 part Portland cement
- 2 parts clean, sharp sand
- 3 parts small aggregate (3/8 inch or smaller)
- Water: enough to achieve a workable consistency (typically 0.5-0.7 parts per 1 part cement)
This mix provides:
– High compressive strength
– Good workability
– Excellent durability for driveway use
How to Properly Seal DIY Concrete Pavers for Driveway?
Sealing your DIY concrete pavers is crucial for longevity and appearance. Follow these steps:
- Clean pavers thoroughly and allow to dry completely
- Choose a suitable sealer (acrylic, silane, or silicone-based)
- Apply sealer using a roller or sprayer
- Allow first coat to dry (1-4 hours depending on conditions)
- Apply a second coat if needed
- Let cure for 24-48 hours before use
Pro Tip: Always test the sealer on a small, inconspicuous area first to ensure desired results.
What Are the Essential Installation Tips for DIY Concrete Pavers?
Proper installation is key to a long-lasting and attractive driveway. Consider these essential tips:
Prepare the Site
- Excavate to a depth of 11-15 inches
- Ensure proper slope for drainage (1/4 inch per foot away from structures)
- Install edge restraints to prevent spreading
Create a Solid Base
- Add 6-8 inches of gravel base material
- Compact in 2-inch layers using a plate compactor
- Achieve at least 95% compaction for stability
Sand Layer
- Spread a 1-inch layer of coarse sand
- Level using screed boards and a long, straight 2×4
Laying Pavers
- Start from a straight edge or use string lines for guidance
- Place pavers in desired pattern, leaving 1/8 inch gaps
- Use a rubber mallet to set pavers firmly
Final Steps
- Spread fine sand over pavers and sweep into joints
- Compact pavers with a plate compactor
- Add more sand as needed to fill joints completely
What Is the Average Cost of DIY Concrete Pavers for Driveway?
The cost of DIY concrete pavers can vary based on several factors:
| Item | Cost Range (per sq ft) |
|---|---|
| Materials | $3 – $15 |
| Tools (if renting) | $1 – $3 |
| Miscellaneous supplies | $0.50 – $1 |
Total DIY cost: $4.50 – $19 per square foot
Compare this to professional installation, which can range from $8 to $35 per square foot.
By choosing the DIY route, you can potentially save 30-50% on your driveway paver project.
How to Maintain DIY Concrete Pavers for Long-lasting Durability?
To ensure your DIY concrete pavers stand the test of time:
- Clean regularly with a stiff brush and mild detergent
- Reseal every 3-5 years or as needed
- Replace damaged pavers promptly
- Re-sand joints annually or when sand levels drop
- Address any drainage issues immediately to prevent erosion
By following these maintenance steps, your DIY concrete paver driveway can last 20-30 years or more.
Remember, creating DIY concrete pavers for your driveway is a rewarding project that can significantly enhance your home’s value and appearance. With proper planning, execution, and maintenance, you’ll enjoy a beautiful, durable driveway for years to come.
References:
1. https://contractor.unilock.com/installation/paver-installation/how-to-build-paver-driveway/
2. https://www.paverhouse.com/how-to-install-driveway-pavers/
3. https://www.thisoldhouse.com/driveways/21016426/how-to-install-a-permeable-paver-driveway
