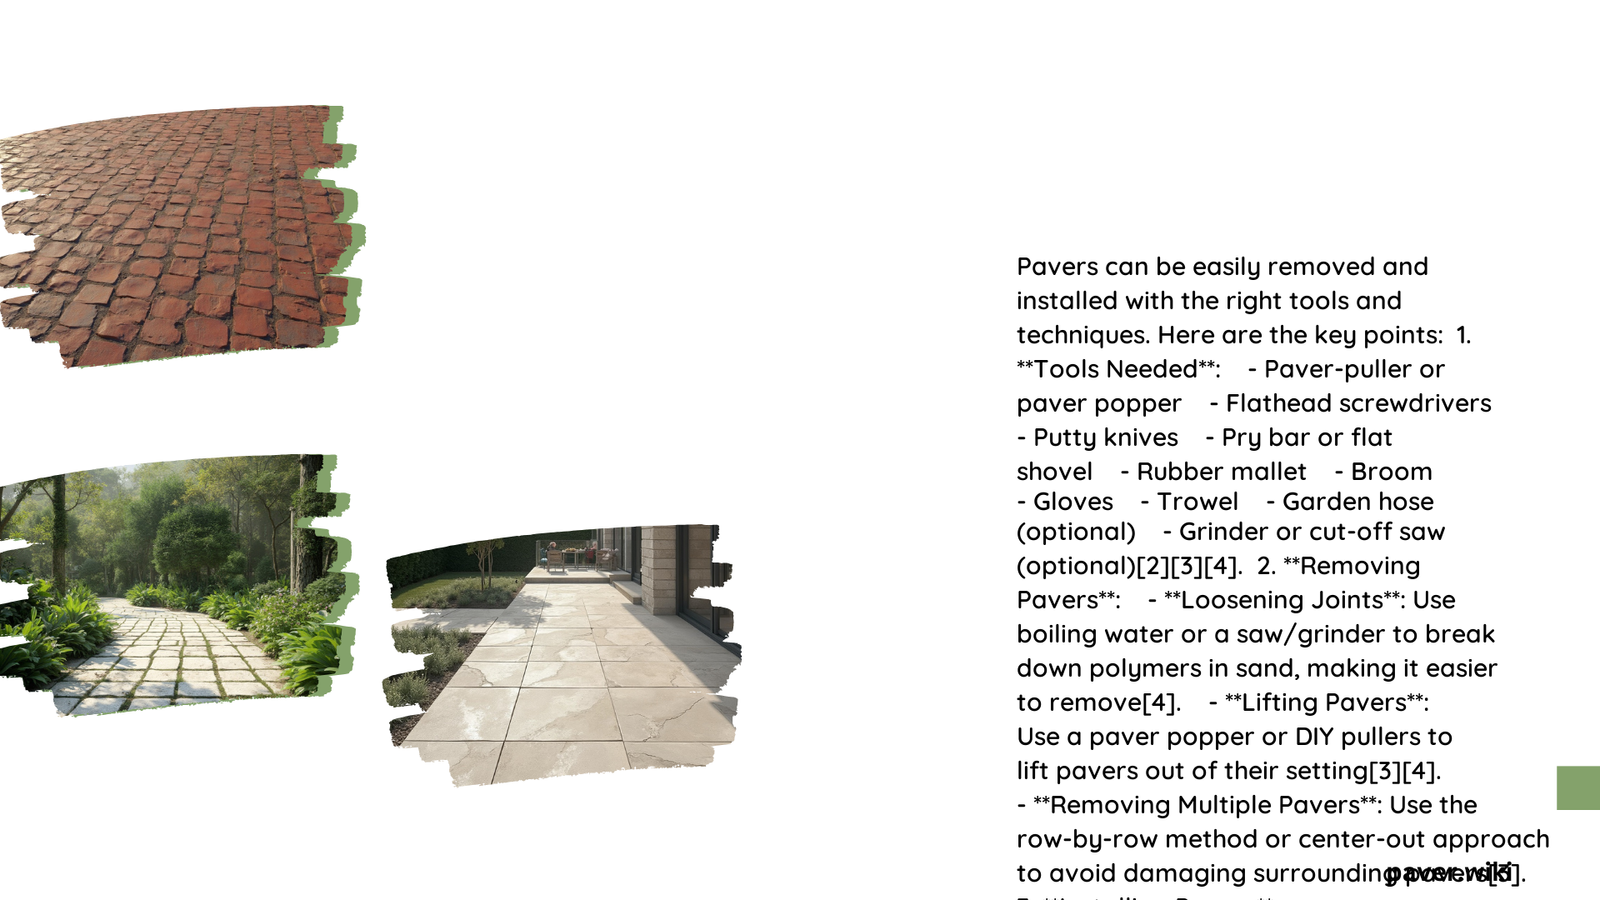
Pavers can be easily removed and installed with the right tools and techniques. Specialized equipment like the Paver Tool and Quick-E-Paver Popper simplify the process, allowing for efficient removal and installation without damaging surrounding pavers. Proper preparation, including leveling the substrate and using appropriate bedding sand, is crucial for successful installation. While the ease of removal and installation can vary depending on factors such as paver type and joint material, following the correct procedures ensures a smooth process.
What Tools Are Needed for Paver Removal and Installation?
To effectively remove and install pavers, you’ll need a combination of specialized and basic tools:
- Paver Tool: Designed for lifting, spacing, and setting pavers
- Quick-E-Paver Popper: Used for extracting pavers by breaking the interlock bond
- Hammer and flathead screwdrivers: For basic removal techniques
- Putty knife: To break polymer seals between pavers
- Plate compactor: For compacting pavers during installation
- Paver Aligning Bar: Ensures proper alignment during installation
How Does the Paver Removal Process Work?

The paver removal process varies depending on the tools used:
Using Specialized Tools:
- Adjust the Paver Tool or Quick-E-Paver Popper to fit the paver size
- Apply steady pressure to break the interlock bond
- Lift the paver without disturbing adjacent ones
Basic Method:
- Break the polymer seal with a putty knife
- Insert flathead screwdrivers to pry the paver
- Use a hammer for additional leverage if needed
What Are the Steps for Paver Installation?
Proper paver installation involves several key steps:
- Preparation:
- Ensure the substrate is level and compacted
-
Lay down bedding sand according to specifications
-
Laying Pavers:
- Use tools like the Paver Tool for precise placement
- Maintain recommended spacing between pavers
-
Use a Paver Aligning Bar for proper alignment
-
Compaction:
- Use a low-amplitude plate compactor
-
Make at least 4 passes to ensure full compaction
-
Joint Sand Application:
- Spread dry joint sand over the pavers
- Sweep sand into joints
- Compact continuously until joints are full
How Long Does Paver Removal and Installation Take?
The time required for paver removal and installation can vary based on several factors:
| Factor | Impact on Time |
|---|---|
| Area Size | Larger areas require more time |
| Paver Type | Interlocking pavers may take longer to remove |
| Tool Used | Specialized tools can significantly reduce time |
| Experience Level | Skilled workers complete tasks faster |
On average, a small patio (100-200 pavers) might take a day for removal and installation, while a large driveway could require several days.
What Challenges Might Arise During Paver Removal and Installation?
Several challenges can occur during the process:
- Breaking the interlock bond without damaging pavers
- Ensuring proper compaction for stability
- Dealing with polymeric sands, which may require hot water for removal
- Maintaining level surfaces during installation
- Proper alignment of pavers, especially in complex patterns
How Do Different Paver Types Affect Removal and Installation Ease?
The type of paver used can significantly impact the ease of removal and installation:
Interlocking Concrete Pavers:
- Removal: More challenging due to interlocking design
- Installation: Requires precise alignment but provides stability
- Tools: Specialized tools like Quick-E-Paver Popper are highly effective
Natural Stone Pavers:
- Removal: Generally easier due to less interlocking
- Installation: May require more care due to irregular shapes
- Tools: Basic tools often suffice for removal
What Are the Cost Implications of Paver Removal and Installation?
The costs associated with paver removal and installation include:
- Tools:
- Specialized tools: $66.25 to $255.56
-
Basic tools: $50 to $100 for a set
-
Materials:
- Pavers: $3 to $15 per square foot
- Bedding sand: $10 to $20 per ton
-
Joint sand: $15 to $30 per bag
-
Labor:
- Professional installation: $10 to $30 per square foot
- DIY: Cost of materials and tools only
How Can Paver Removal and Installation Be Made Easier?
To simplify the process of paver removal and installation:
- Invest in specialized tools for efficiency
- Properly prepare the substrate before installation
- Use appropriate bedding and joint sand
- Follow manufacturer guidelines for specific paver types
- Consider professional help for large or complex projects
By following these guidelines and using the right tools, pavers can indeed be easily removed and installed, making maintenance and redesign of outdoor spaces more accessible.
References:
1. Paver Tool – Lift, Space, Set, Or Remove Pavers Easily
2. Removing Paver Stones For Repairs (No fancy tools required)
3. Quick-E-Paver Popper – Pave Tool Innovators
