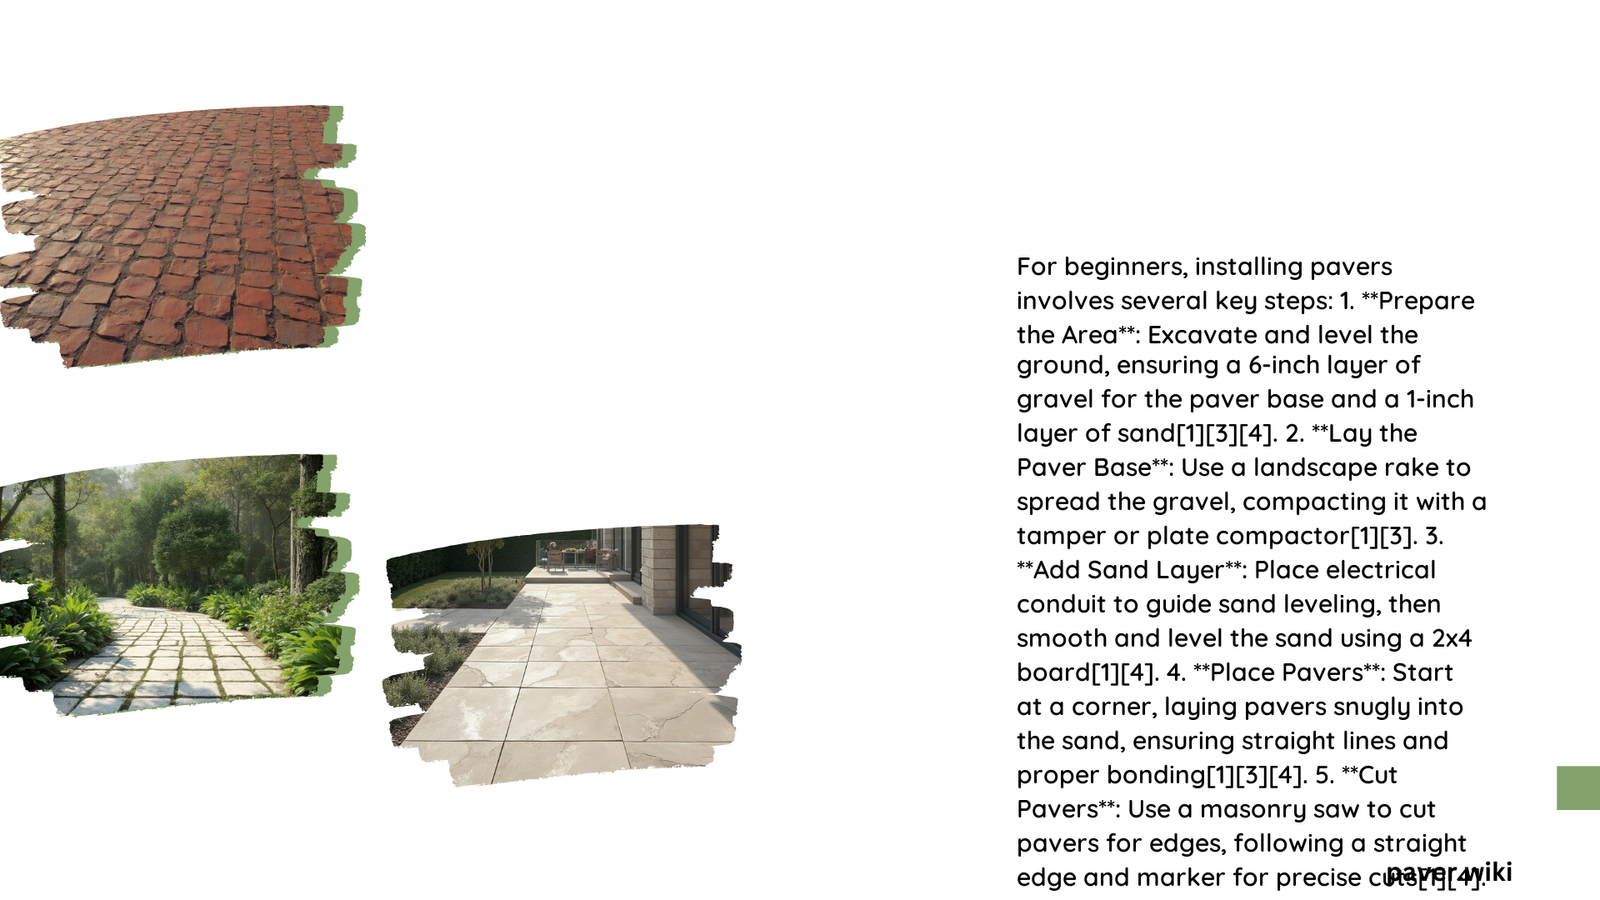
Pavers for beginners offer an excellent way to enhance outdoor spaces with durable, attractive surfaces. This guide covers essential techniques for paver installation, suitable types for novices, cost considerations, and maintenance tips. Whether you’re planning a DIY patio project or simply want to understand the basics, this comprehensive overview will equip you with the knowledge to get started with pavers.
What Are the Essential Paver Installation Techniques for Beginners?
Installing pavers requires careful planning and execution. Here’s a step-by-step guide to help beginners navigate the process:
- Planning and Layout:
- Measure the area to be paved
- Create a design on graph paper
-
Mark the area with stakes and string
-
Excavation:
- Remove grass and soil to the required depth
-
Ensure a slope of 1 inch every 8 feet for drainage
-
Base Preparation:
- Lay 4-6 inches of crushed rock or gravel
-
Compact thoroughly using a plate compactor
-
Edge Restraints:
- Install edging to keep pavers in place
-
Use materials like snap edging secured with spikes
-
Sand Bedding:
- Spread a 1-inch layer of sand over the base
-
Level using a 2×4 board or conduit pipe
-
Laying Pavers:
- Start from a corner, working outward
- Fit pavers snugly together
-
Use a plate compactor to set pavers into sand
-
Joint Filling:
- Sweep fine sand into joints between pavers
-
Ensure area is dry before this step
-
Sealing:
- Clean the paved area thoroughly
- Apply a sand binding sealant for protection
Essential Tools for Paver Installation
| Tool | Purpose |
|---|---|
| Tape measure | Accurate measurements |
| Shovel and spade | Excavation and material handling |
| Plate compactor | Compacting base and setting pavers |
| 2×4 board | Leveling sand bed |
| Masonry saw | Cutting pavers to fit |
| Safety gear | Protect eyes and hands |
Which Types of Pavers Are Most Suitable for Beginners?

When starting out, it’s important to choose pavers that are easy to work with. Here are some options:
- Concrete Pavers:
- Affordable and durable
- Available in various colors and patterns
-
Typically 4×8 inches, 6×6 inches, or 6×9 inches
-
Brick Pavers:
- Classic look with natural variations
- Durable and suitable for various applications
-
Usually 4×8 inches or 6×6 inches
-
Natural Stone Pavers:
- Aesthetic appeal with unique patterns
- More challenging to install due to irregular shapes
- Varying dimensions, often larger than concrete or brick
What Is the Average Cost of Paver Materials for a Beginner Project?
Understanding the costs involved helps in budgeting your paver project. Here’s a breakdown:
Paver Material Costs
| Paver Type | Cost per Square Foot |
|---|---|
| Concrete | $3 – $10 |
| Brick | $5 – $15 |
| Natural Stone | $10 – $30 |
Additional Materials
- Base material (gravel): $1 – $3 per square foot
- Sand: $0.50 – $1 per square foot
- Edge restraints: $1 – $3 per linear foot
- Sealant: $0.50 – $1 per square foot
Don’t forget to factor in equipment rental costs if you don’t own tools like a plate compactor or masonry saw.
How Should Beginners Maintain Their Newly Installed Pavers?
Proper maintenance ensures the longevity and appearance of your paver installation. Follow these tips:
- Regular Cleaning:
- Sweep weekly to remove debris
-
Use a mild detergent and water for deeper cleaning monthly
-
Weed Control:
- Apply polymeric sand between joints to prevent weed growth
-
Remove any weeds promptly if they appear
-
Sealant Application:
- Reapply sealant every 2-3 years
-
Choose a sand binding sealant designed for pavers
-
Repair and Replace:
- Address any loose or damaged pavers immediately
- Keep extra pavers on hand for replacements
By following these installation techniques, choosing appropriate pavers, understanding costs, and maintaining your installation, beginners can successfully complete a paver project. Remember to take your time, plan carefully, and don’t hesitate to seek professional advice if you encounter challenges beyond your expertise.
