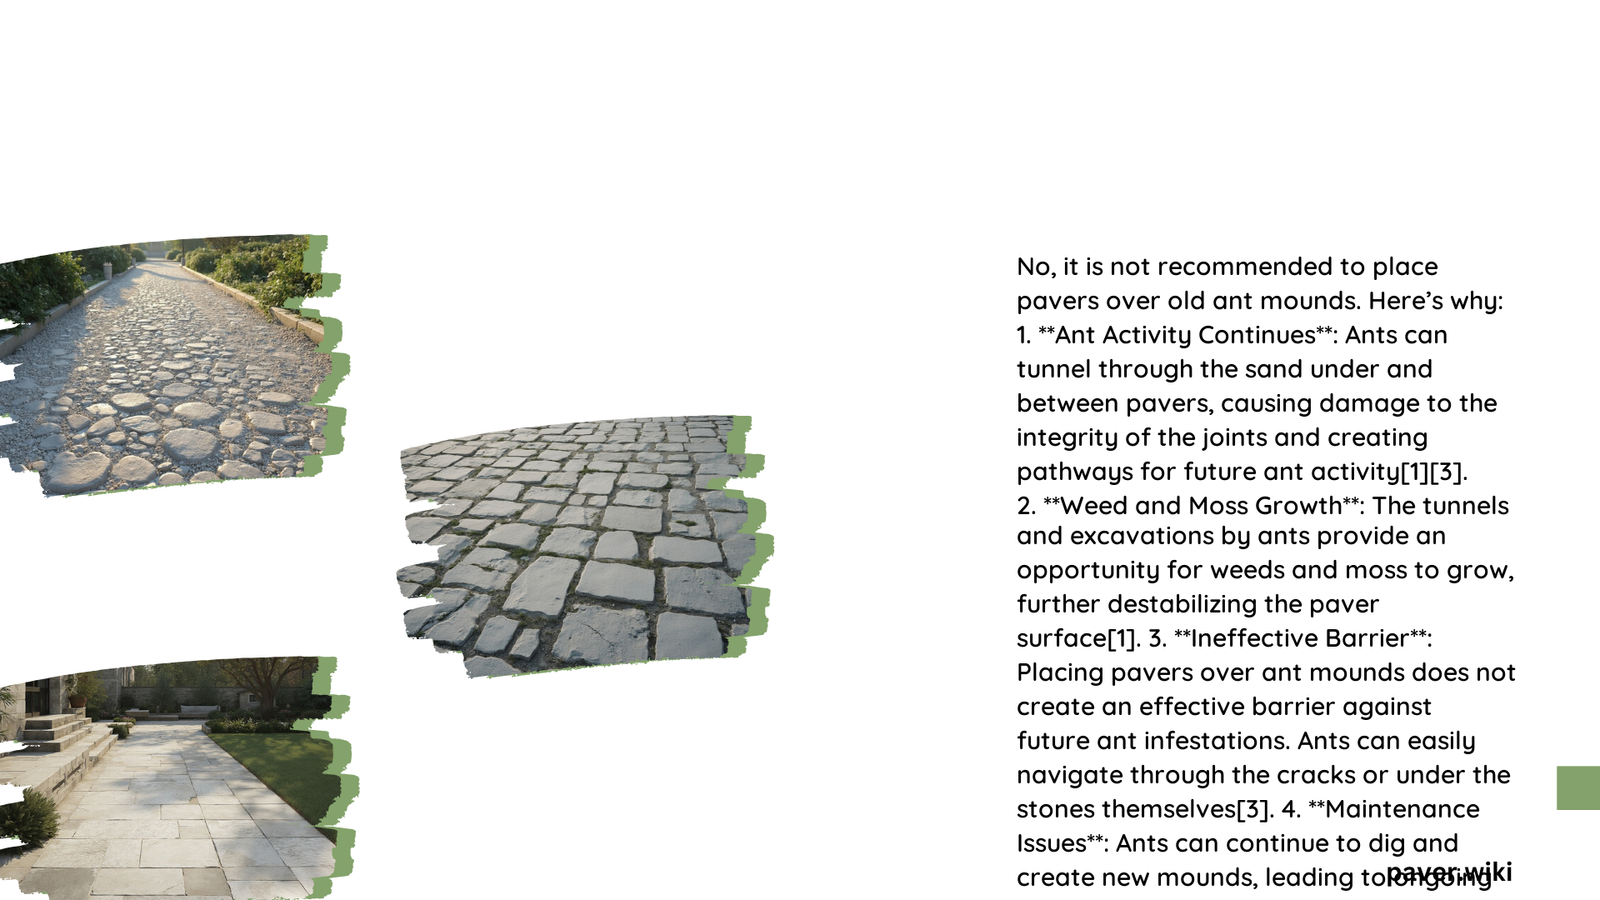
Placing pavers over old ant mounds can lead to structural issues and long-term problems with your paved surface. Ant mounds can create instability in the soil, affecting the foundation of your pavers. Before installing pavers, it’s crucial to address ant infestations, remove mounds, and properly prepare the area. This article explores the challenges, solutions, and best practices for dealing with ant mounds when installing pavers.
What Are the Risks of Placing Pavers Over Ant Mounds?
Placing pavers over old ant mounds can pose several risks to the stability and longevity of your paved surface:
- Uneven Settlement: Ant mounds create voids in the soil, leading to uneven settling of pavers over time.
- Structural Instability: The tunnels and chambers created by ants can compromise the structural integrity of the base layer.
- Drainage Issues: Ant activity can alter the soil composition, affecting proper drainage and potentially leading to water accumulation.
- Continued Ant Activity: If the ant colony is not properly addressed, they may continue to cause problems even after paver installation.
How Can I Prepare the Area Before Paver Installation?

Proper preparation is key to ensuring a stable and long-lasting paver installation:
- Identify and Treat Ant Colonies:
- Locate all ant mounds in the area
- Use appropriate insecticides or baits to eliminate the colonies
-
Consult a professional pest control service if needed
-
Remove and Fill Ant Mounds:
- Excavate the affected soil
- Fill the area with compactable material (e.g., crushed stone or sand)
-
Compact the filled area thoroughly
-
Ensure Proper Drainage:
- Grade the area to allow for water runoff
-
Install a proper base layer with adequate drainage capabilities
-
Compact the Soil:
- Use a plate compactor to ensure a stable foundation
- Pay extra attention to areas where ant mounds were removed
What Are the Best Practices for Paver Installation Over Former Ant-Infested Areas?
To ensure a successful paver installation over areas previously affected by ant mounds, follow these best practices:
- Thorough Site Preparation:
- Remove all organic material and debris
-
Excavate to the appropriate depth for base material
-
Quality Base Material:
- Use a well-graded, compactable material for the base layer
-
Install the base in layers, compacting each layer thoroughly
-
Proper Edging:
- Install edge restraints to prevent paver movement
-
Ensure edges are securely anchored
-
Sand Setting Bed:
- Use a uniform layer of sand for the setting bed
-
Screed the sand to ensure a level surface
-
Paver Placement:
- Lay pavers in the desired pattern
-
Use spacers to maintain consistent joint widths
-
Joint Filling:
- Fill joints with polymeric sand to prevent ant reinfestation
-
Sweep excess sand and compact pavers
-
Regular Maintenance:
- Inspect the paved area regularly for signs of settling or ant activity
- Address any issues promptly to prevent further damage
What Are the Long-Term Considerations for Pavers Installed Over Former Ant Mounds?
When installing pavers over areas previously affected by ant mounds, consider these long-term factors:
- Settling: Monitor the paved area for signs of uneven settling, especially in the first year after installation.
- Drainage: Ensure proper drainage is maintained to prevent water accumulation and potential ant reinfestation.
- Ant Prevention: Implement ongoing ant prevention measures to protect your paved surface.
- Regular Inspections: Conduct periodic inspections to catch and address any issues early.
- Sealing: Consider sealing the paved surface to provide additional protection against ant intrusion and moisture.
How Can I Prevent Future Ant Infestations in My Paved Area?
To prevent future ant infestations in your paved area, consider the following strategies:
- Regular Cleaning:
- Keep the paved area clean and free of food debris
-
Sweep regularly to remove potential ant attractants
-
Perimeter Treatment:
- Apply ant repellent or insecticide around the edges of the paved area
-
Reapply as needed, following product instructions
-
Maintain Proper Drainage:
- Ensure water drains away from the paved area
-
Address any pooling or standing water issues promptly
-
Seal Cracks and Gaps:
- Regularly inspect for and seal any cracks or gaps in the pavers or joints
-
Use appropriate sealants or polymeric sand to fill voids
-
Natural Deterrents:
- Plant ant-repelling plants around the paved area (e.g., mint, lavender, or citrus)
- Use natural repellents like diatomaceous earth or cinnamon around the perimeter
By following these guidelines and best practices, you can successfully install pavers over areas previously affected by ant mounds while minimizing the risk of future problems. Remember that proper preparation and ongoing maintenance are key to ensuring a stable and long-lasting paved surface.
References:
1. How Ants and Other Pests Can Damage Your Patio – The Paver Savers
2. Pavement Ants – Utah State University Extension
3. How to Control Pavement Ants – Gardener’s Path
